A couple months ago, as part of my home reno, I installed the MantelMount MM815 with a 65″ TV. It’s a bit of a splurge purchase. But the way our family room is laid out, the only reasonable place for our TV was above the fireplace mantel, despite that being a home improvement faux pas. I discovered this product when looking for a way to let the TV swing down for comfortable viewing but rest up high when out of use. I’m very happy with the result.
It was not an easy install. It probably took me over 30 hours. But I’m proud of the job I did, and as it’s a fairly new product, I thought it might help others to share the installation experience.

Between the TV, a 6″ tall center channel speaker, and the mantel, I technically did not meet the minimum amount of space my ceiling height would allow. I figured I’d roll the dice and mount the thing and hope for the best, otherwise, it was going to be tricky to find a better solution. (The most obvious thing would be ditch the center channel, but it was very difficult to find a smaller speaker.) But I figured I could probably set a stop below just at the mantel if I had to.
Measure twice (or 15 times), cut once
Because of how tight my space was, I figured I needed to get the top of my TV within 1/4″ of the ceiling in the top position, with the wall mount also as high as it could go so the arms would have space to swing downward but also making it so the extension arms would extend just low enough to hold the center channel speaker tight to the bottom of the TV. Lastly, you may want to optimize for whether the TV hides the wall brace in the top and/or bottom positions, but for me this was not important.
When you look at the different hole positions you can use, you realize there are a lot of options, so it took a lot of trial and error to find the optimal positioning. Only then could I work backwards to the height of the wall brace and the lag screw pilot holes.
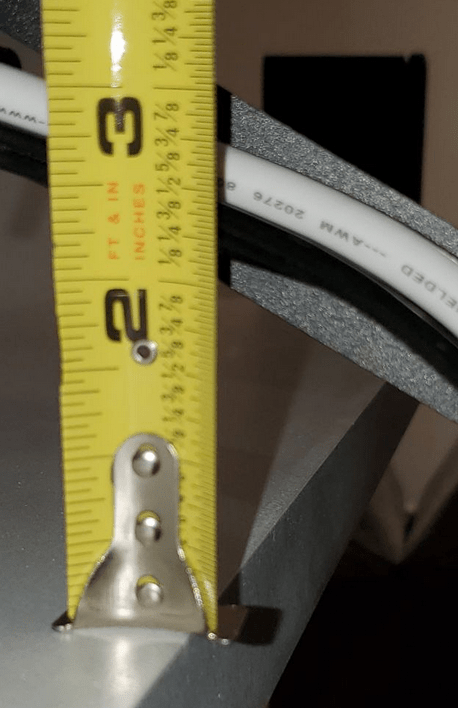
Complicating things even further, my electrician had put an outlet on the wall in a spot that might conflict with the wall brace. Fortunately, the outlet was about 1/8″ above where the top of the brace would end up being positioned 😅
The dreaded center channel
Surprisingly, the biggest pain was figuring out how to get the center channel mounted. The mounting pieces provided have an enormous number of configurations you can use (way more than the main TV part), and my center channel wasn’t really made for this. I ended up realizing that I could use the screw holes for the keyhole mount (which you would normally use to hang it from screws in the wall). To shorten a very long story, I ended up getting it secured pretty close to the bottom of the TV. This part probably took me at least 8 hours.

The one thing I’m not crazy about is that my center channel angles downwards. There is very little play in it though and I could not figure a way to get it to be level from front-to-back.

The moment(s) of truth
You install the motor and arms onto the wall brace in the fully upright position. The first time I attempted this, I realized the arm rests almost completely flush to the wall when in top position, and the outlet came out just far enough to interfere with it. Test #1: failed. I had to unbolt the brace from the wall, wait a few days for my electrician to move the outlet and get the wall patched, and then I could resume the install.
Once the motorize arm is attached, you extend the mount all the way down with the remote to hang the TV off of it. Test #2 was to see if the arms would collide with the top of the mantel. Thankfully, at the bottom of its swing, it was about 2″ above the mantel. Great success!
With the everything assembled, it was time for the final tests. Test #3 was whether the speaker would clear the edge of the mantel. It did with no issue.

Test #4 was whether the center channel would sit above the mantel in the top position. As the mount settled into top position, it was clear that there was a little more space than when the back of the speaker was clearing the front edge of the mantel. Great!

Finally, test #4 was whether the top of the TV would hit the ceiling. Unfortunately, it just barely brushed the ceiling. But, fortunately, it turned out that if I adjusted it to be level, both corners were about 1/8″ from the ceiling. Perfect!

Installation complete!
As it turns out, I could have mounted the entire thing about an inch lower, but I feel lucky all this gear fit into the space I’m working with, in the first place. And I would rather give the mantel that extra inch of breathing room than the ceiling.


If you look closely, you can see that in both top and bottom positions, the wall brace peeks out. But the white covers that come with this model make it blend well enough.
Final touches
- The electrician relocated my outlet in the space in the left side of the wall brace. I used a Dremel tool to cut the wall brace cover enough to access the outlet.
- Because the electrician installed a recessed outlet, the AC adapter of the motor could not reach the socket. I had to put a little 2->3 prong adapter in there just to get enough spacing.
- The cable management was a little iffy. There aren’t a lot of places to put the cables to be sure they don’t get pinched by moving parts. But I eventually managed to get them all hidden behind the TV.

- Per advice I found on Reddit, I’m going to get a Bond Bridge for controlling my MantelMount from SmartThings.
- We’re eventually going to have built-in cabinets flanking the fireplace, so at the moment, I haven’t put a lot of energy into getting the right and left speakers and the other equipment elegantly positioned.
Notes
I really like my MantelMount MM815, but there are a few things I would improve:
- It probably should have controls on the unit, in case the remote gets lost. I worry about that.
- For a product of this price, it would be nice to put a Zwave, Zigbee or Wifi in the controller so that it can be controlled by home automation.
- The mounting system for the center channel or soundbar could be improved. It would be better to have kind of thin, rigid, adjustable L-shaped arms for holding the bottom of the speaker or soundbar, and then something to keep it from sliding off the arms. That would allow simpler installation, easier control of the spacing from the bottom of the TV, and keep the speaker from tilting.
- The power transformer should be built into the motor assembly so that a regular plug can be used at the socket, for more flexibility.
- There aren’t a lot of places to run cables that avoid being pinched or stretched. This could be improved.
- It would be cool to be able to link it to the TV power status, so I don’t have to explicitly raise and lower it at all.
Of course, for more than 3x the cost of the MM815, you can get the pro-focused MM860, which doesn’t have some of these issues. But that’s just ridiculous.

Thanks, I will start the installation of my MM815 tomorrow. I worry about the TV ending up too high or too low for the 65″ Samsung. I will be spending a lot of time on determining the height of the mount that will go on the wall.
LikeLike
I’m excited for you! I’m still super happy with mine.
LikeLike
Hey, I am not able to make to Mantelmount 815 swivel work. Can you help with this?
LikeLike
You’ll probably want to check with MantelMount’s support. For me, my swivel responds the same as the up and down buttons.
LikeLike